
The steps a customer goes through
When somebody opens your booking link, this is what they see.
1. Picking a service
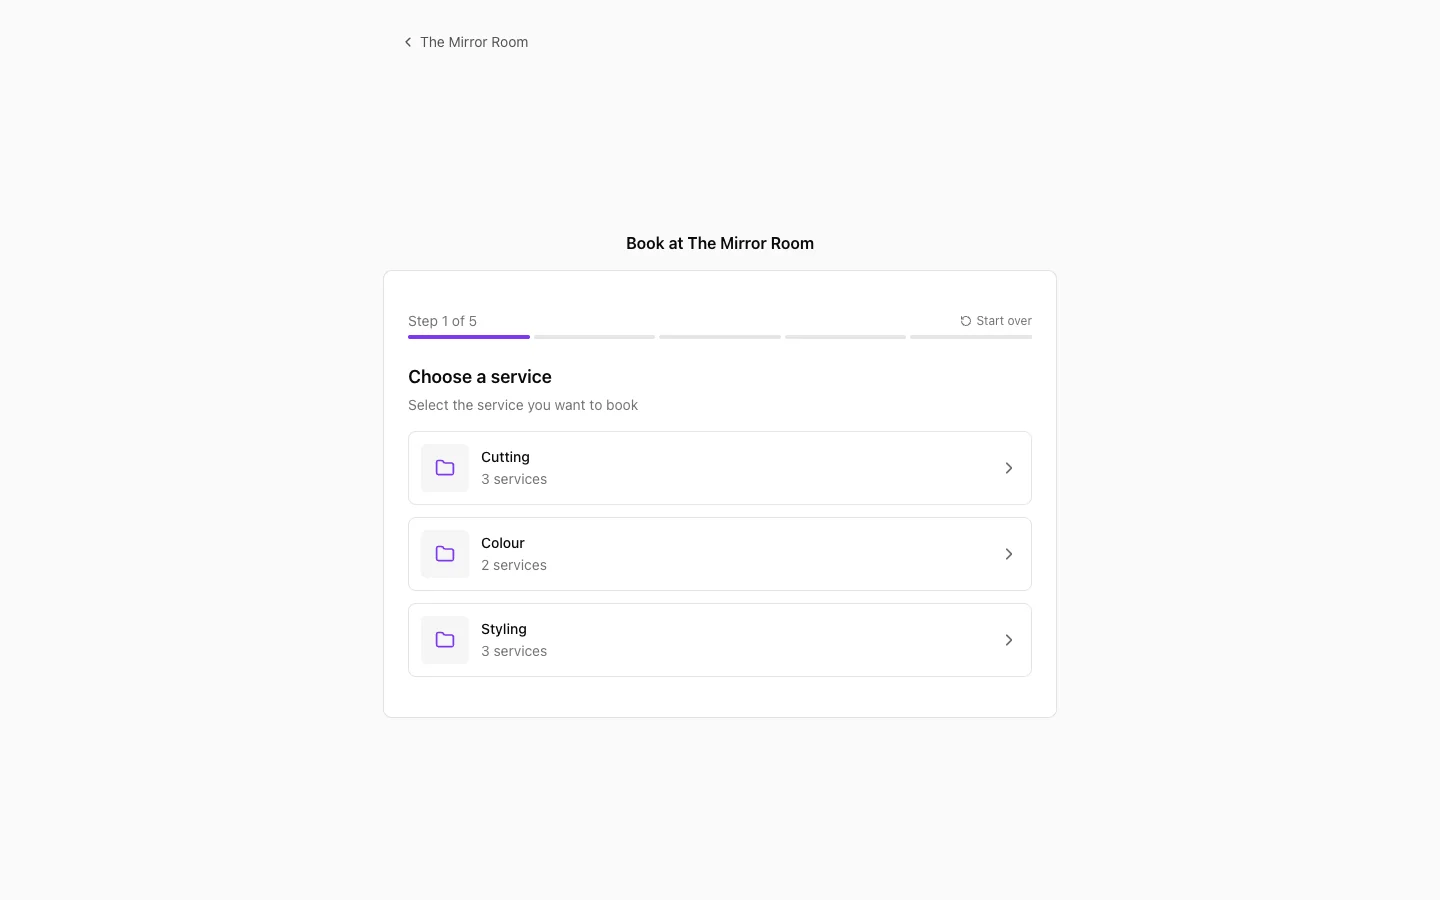
They get a list of every active service you have created, each with its name, how long it takes and its price.
2. Picking a time slot
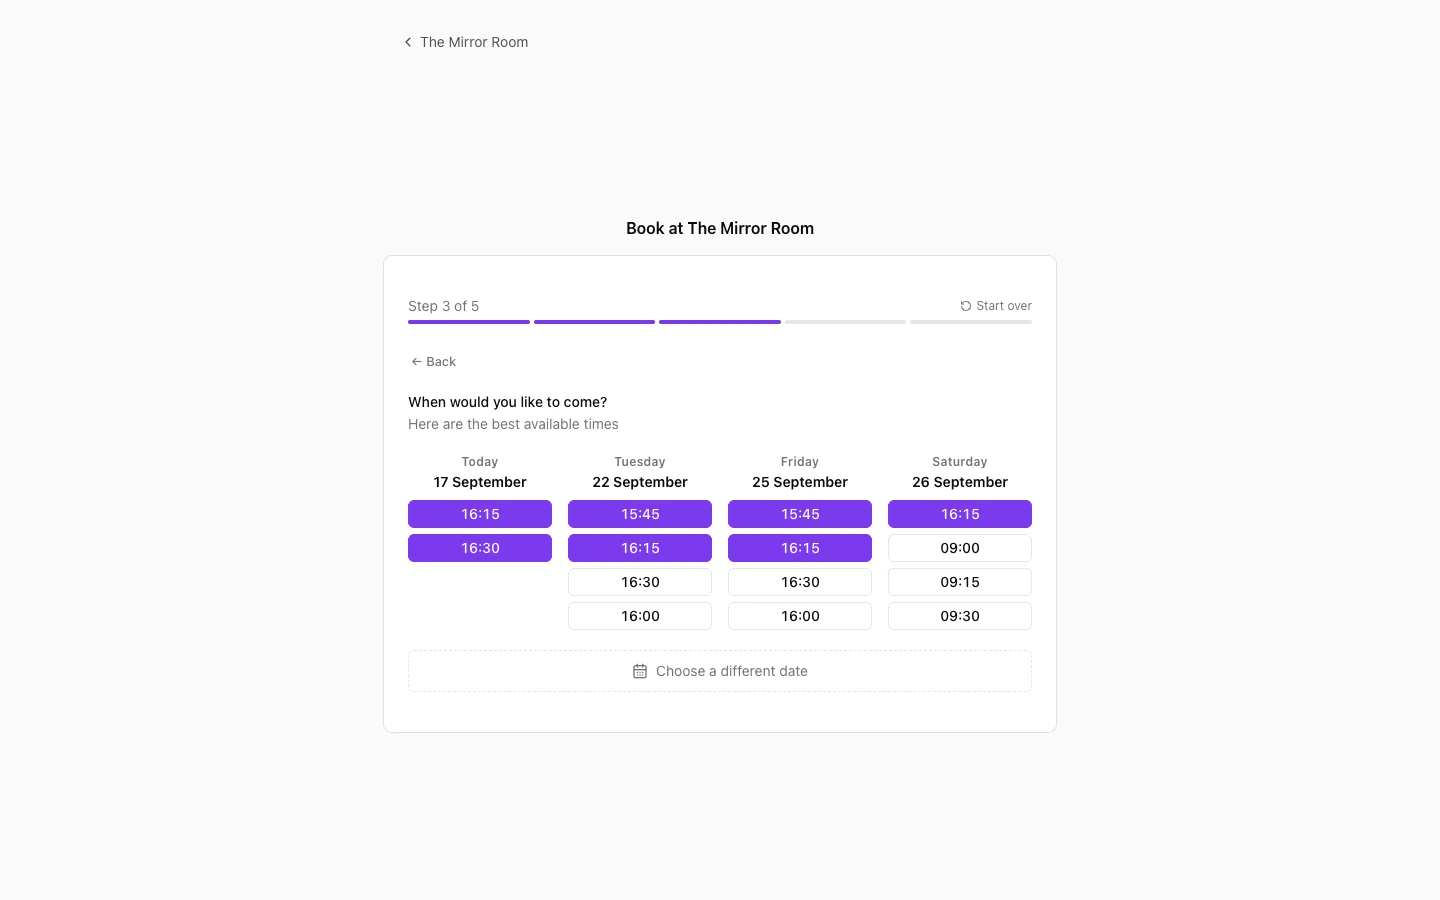
After picking a service they get a calendar of available slots. Only times you are available and that are not already taken appear here.
3. Filling in their details
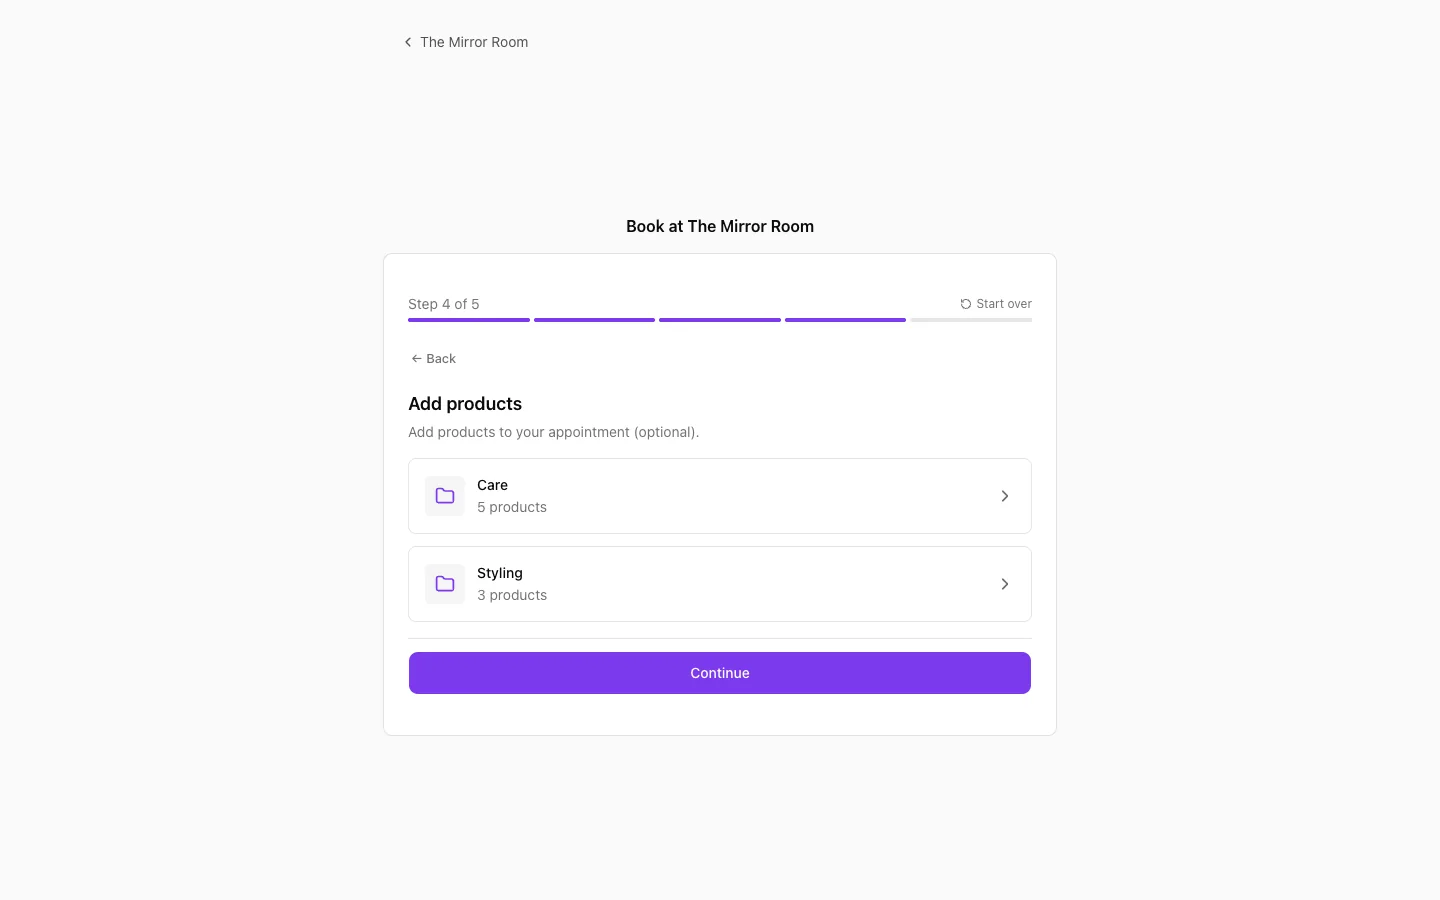
The customer fills in their name, email address and phone number. They can add a note as well, if they want to.
4. Paying (optional)
If you have set a payment requirement on the service they picked, they are sent to Stripe to pay. The appointment is confirmed once the payment goes through.
5. Confirmation
After booking, the customer gets a confirmation email with the details of the appointment. That email also carries a link they can use to change or cancel it themselves.
What you see in the dashboard
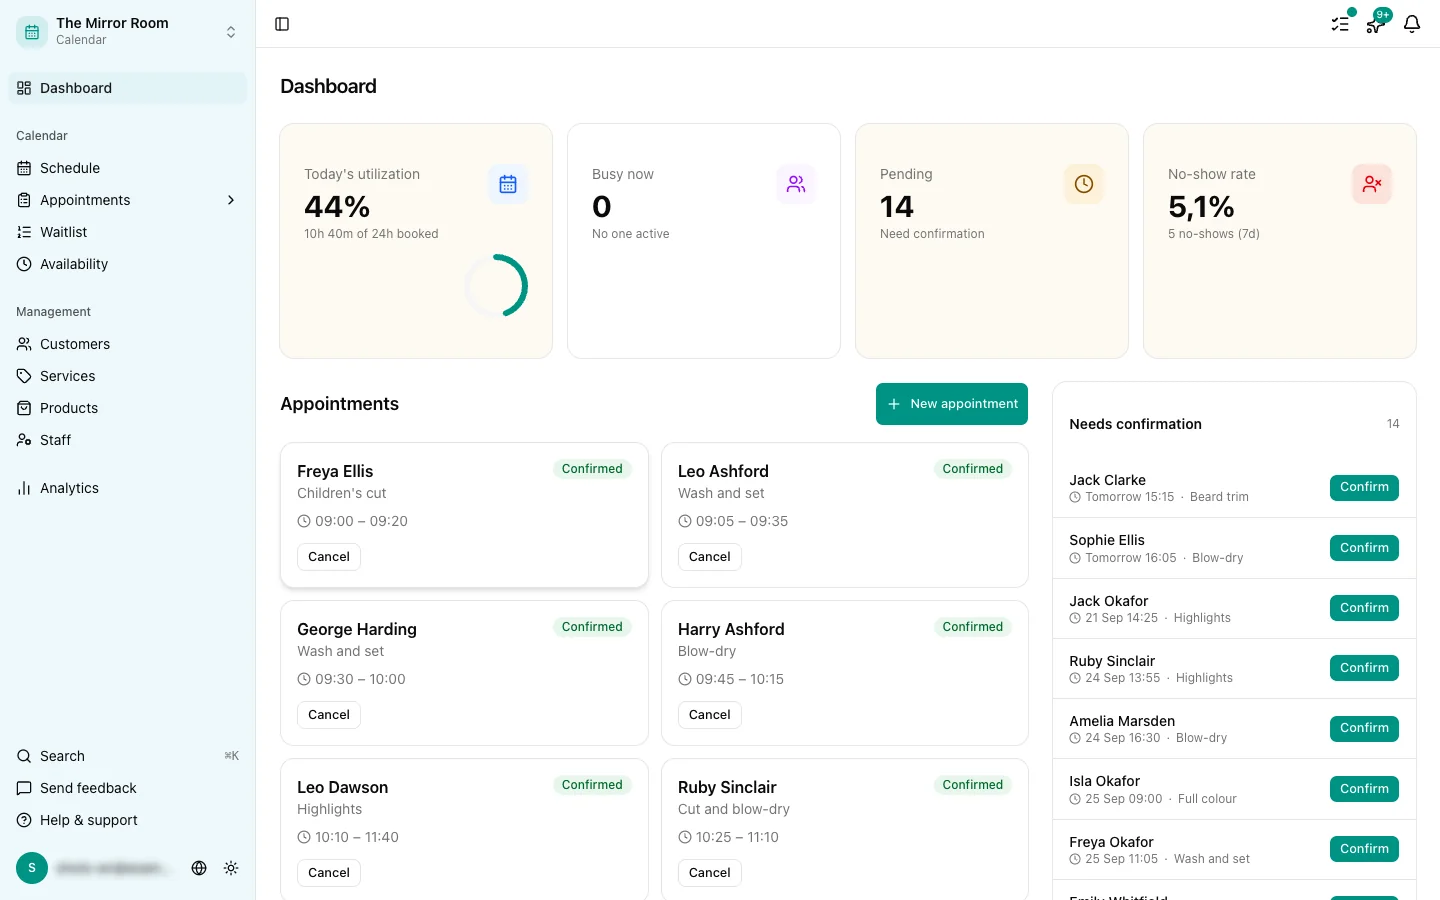
New appointments appear straight away under Appointments and on the Schedule. You also get an email notification, if you have that switched on.
A new booking arrives with status Confirmed (when bookings confirm themselves) or Pending (when you have set manual approval).
Can you limit bookings?
Yes. You can set:
- How far in advance people may book
- How close to the appointment booking is still possible
- Whether appointments confirm themselves or need approving first
More on those settings in the article on intake form settings.