
Where do I find the intake form settings?
Go to Settings > Intake widget.
Confirming automatically
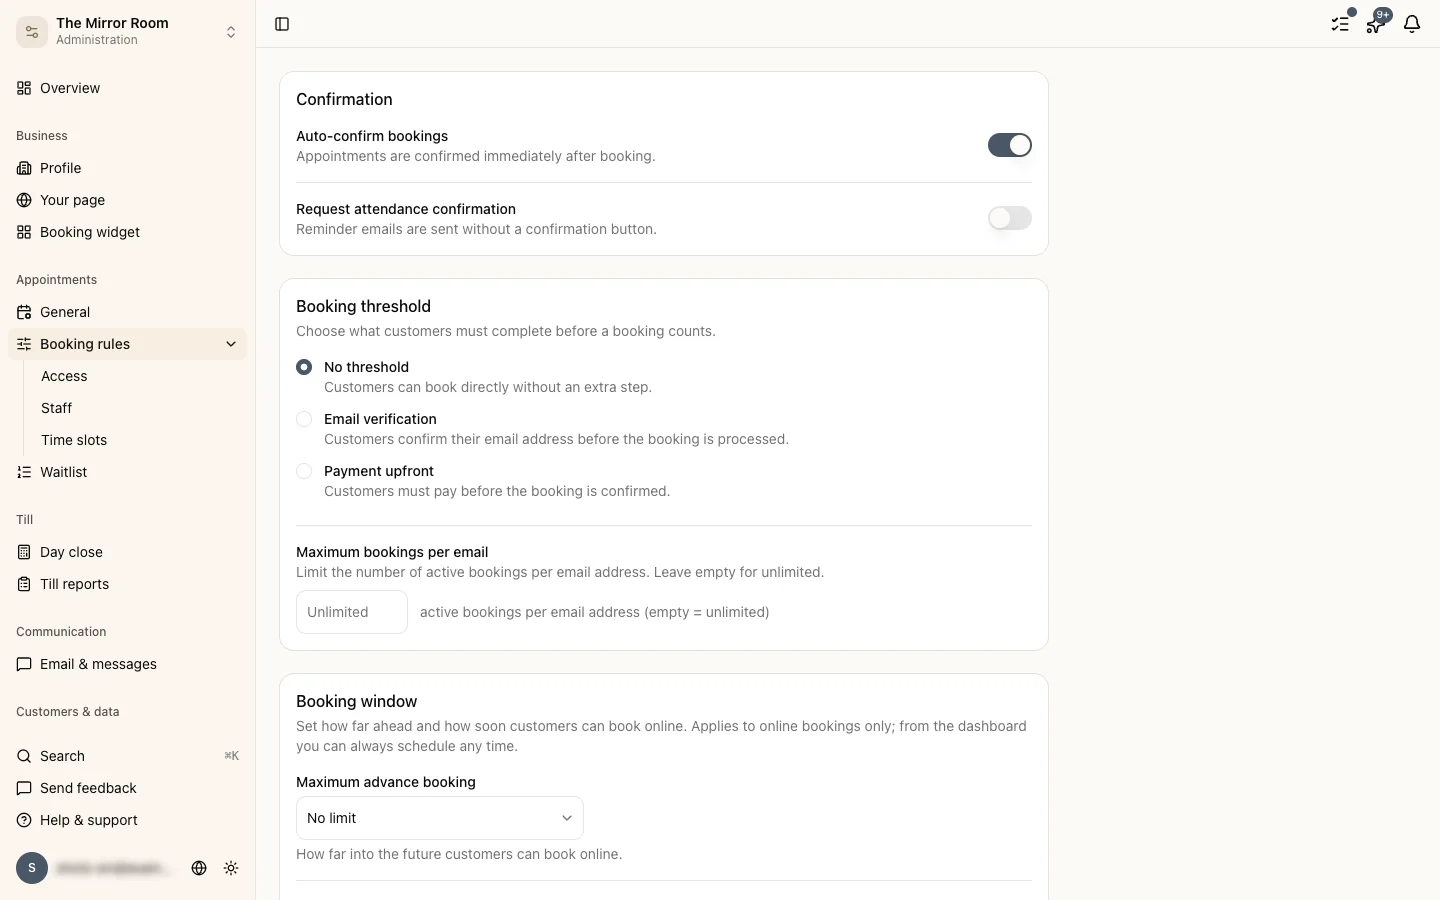
The Confirm automatically switch decides whether new bookings are confirmed on the spot or have to be approved by hand first.
- On: appointments are confirmed immediately and the customer gets a confirmation email.
- Off: appointments arrive as Pending until you approve them. Useful if you want to screen bookings or manage your calendar selectively.
Requiring payment for every service
The Require payment switch makes every booking through the widget a paid one, whatever the per-service setting says.
Note: payment and email verification cannot both be on at once.
Requiring email verification
With email verification on, a customer has to confirm their email address before the appointment becomes final.
- They get a verification email immediately after booking.
- Until the address is confirmed, the appointment sits at Awaiting email verification.
- Once confirmed it moves to Pending or Confirmed, depending on your automatic-confirmation setting.
You can also set how long the verification link stays valid.
Note: email verification and payment cannot both be on at once.
Maximum bookings per email address
Set how many active appointments (upcoming, not cancelled) one customer may hold at a time. Leave the field empty for no limit.
Useful for stopping one person from holding several slots at once.
Slot interval per service
You can give a service its own slot interval, which is the spacing of the slots offered in the booking widget. The general one is under Availability > Slot interval; the per-service setting overrides it.