
What can you import?
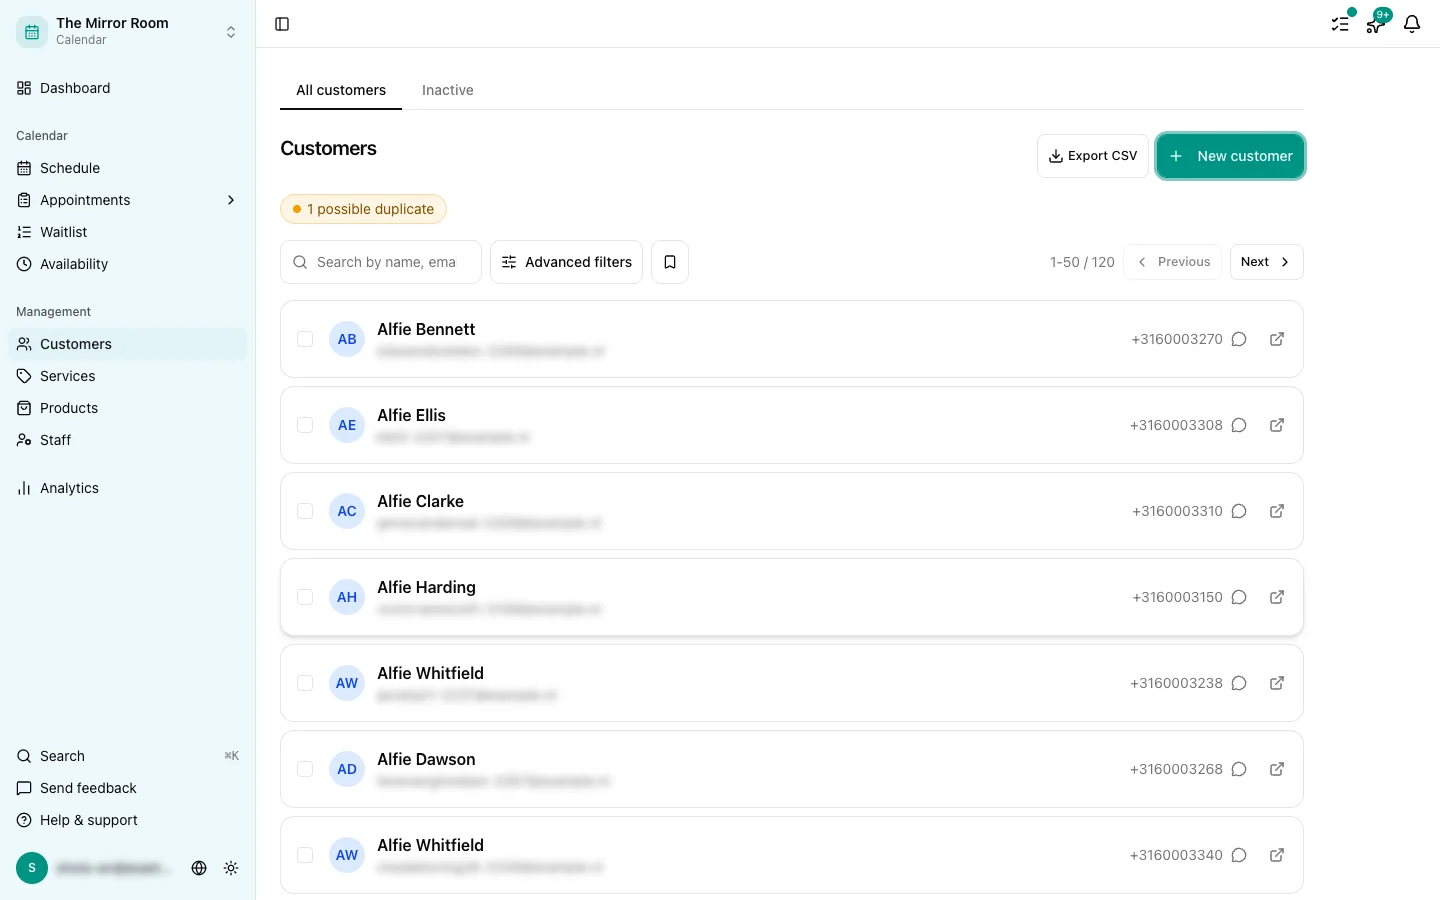
The import lets you bring in:
- Customers: name, email address and phone number
- Appointments: attached to customers you already have, or to new ones
Go to Settings > Import (or through the Import shortcut in the menu).
Step 1: Prepare your CSV file
The customers CSV
Required columns: name, email
Optional: phone
Use UTF-8 encoding and either a comma or a semicolon as the separator.
The appointments CSV
Required columns: customer-email, service, date, time, duration
Check that the service names match exactly how you created them in Stippa.
Step 2: Upload the file
Upload your customers CSV, your appointments CSV, or both, on the import screen.
Step 3: Check the preview
Stippa shows you the first few rows. Check that the columns were recognised correctly. Errors are reported row by row.
Step 4: The overlap setting (appointments only)
When importing appointments, you decide what should happen when a slot is already taken:
- Strict: overlapping rows are skipped
- Allow: overlapping appointments are created anyway
Step 5: Import
Click Import. Afterwards you get a summary of how many rows went through and how many failed. You can download the failed rows as a CSV, correct them and import again.
Existing customers are not duplicated
If an email address already exists in Stippa, the existing profile is updated. No duplicate is created.
Can I undo an import?
No. Check the preview carefully before importing. If something does go wrong, you can delete customers by hand under Customers > [customer] > Delete.